We are almost there! Only 2 more days of Christmas to go for the challenge to be a success and I cannot wait! It’s Christmas eve tomorrow and man am I ready to celebrate!
On the eleventh day of Christmas my true love sent to me… ELEVEN WRAPPED PRESENTS!
I have always liked wrapping presents, but this year I really tried to do something a little special for each. It does take time but when I see people’s faces I am sure that it will be worth every minute. I’m pretty chuffed at the way they all turned out too!
I am going to start with my couple fun and colourful ones. There may even be a couple really silly ones (REINDEER!!) which are great for a younger audience, or those young at heart! Christmas is all about laughter remember.
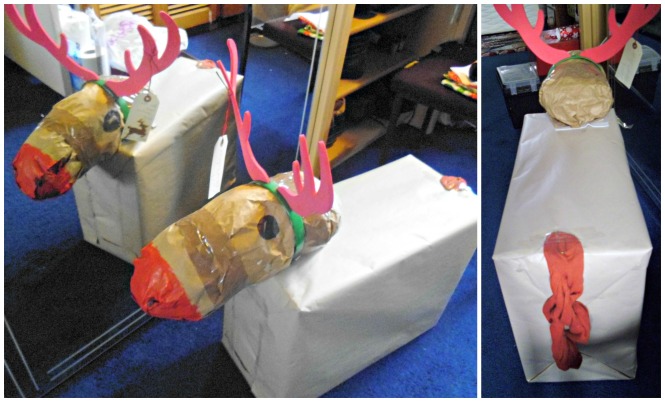
Big box? Turn it into a reindeer!! Just crumple up some brown paper, Paint on a Rudolph nose and add some ears. (And a tail!)
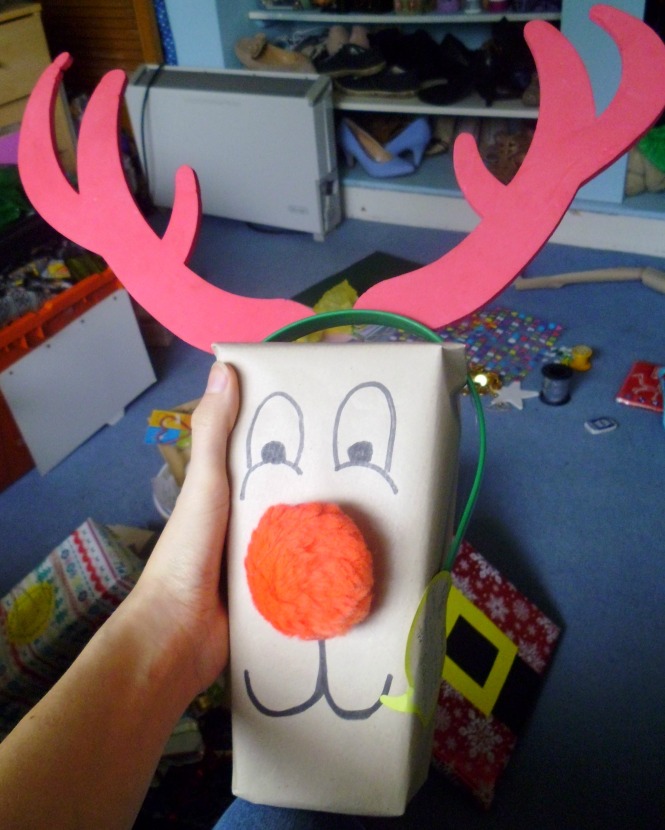
Little box? Turn it into a reindeer head of course! A massive red pompom is all you really need to give this fella a personality
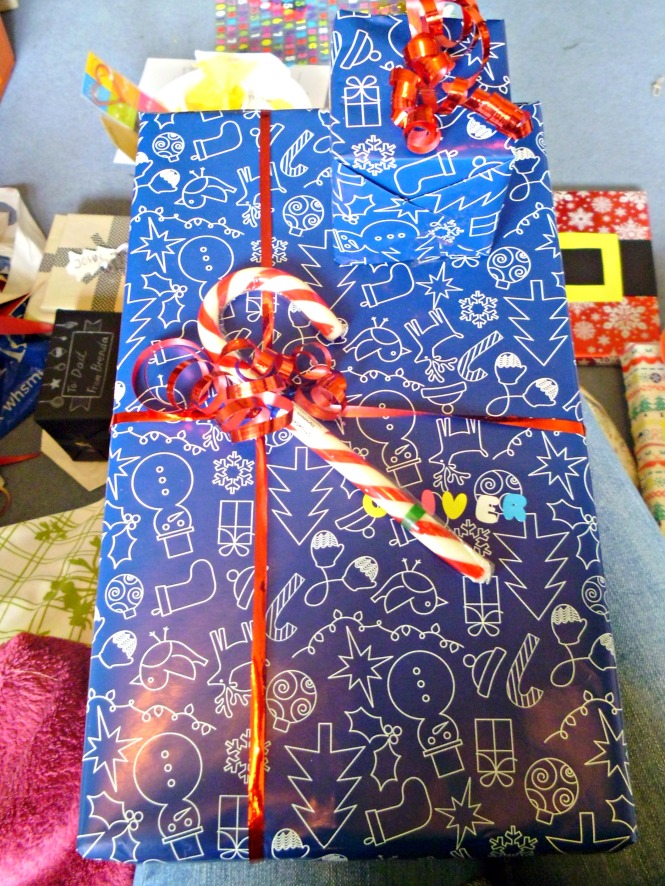
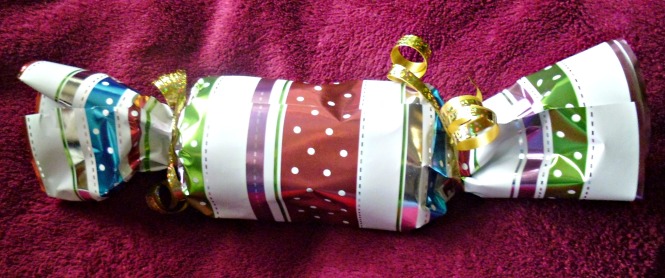
Get some pretty paper and stick some yummies on top. I love the candy cane with matching ribbon. Wrapping a couple things together can be tricky so why not place them in an interesting way.
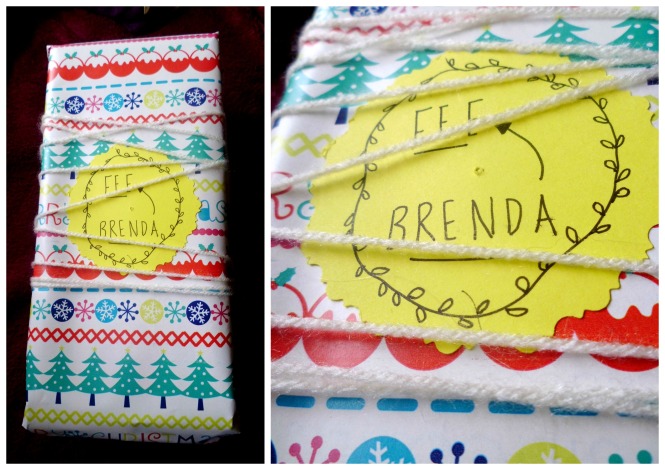
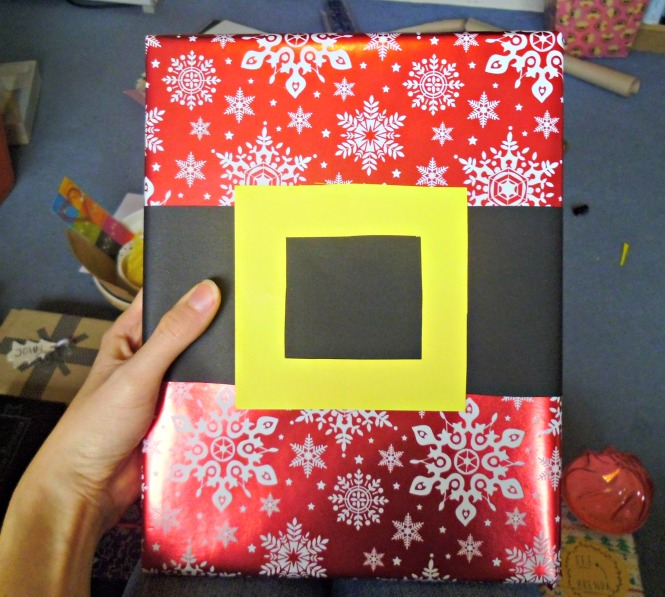
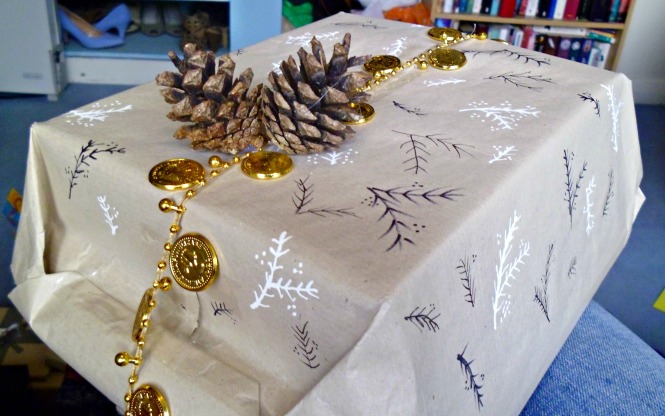
Now to move onto my more artsy and pretty ones too. I tried to tie the themes into the people the presents were for, since it is about what they like not me! I hope you enjoy the photo’s and get a little inspiration too.
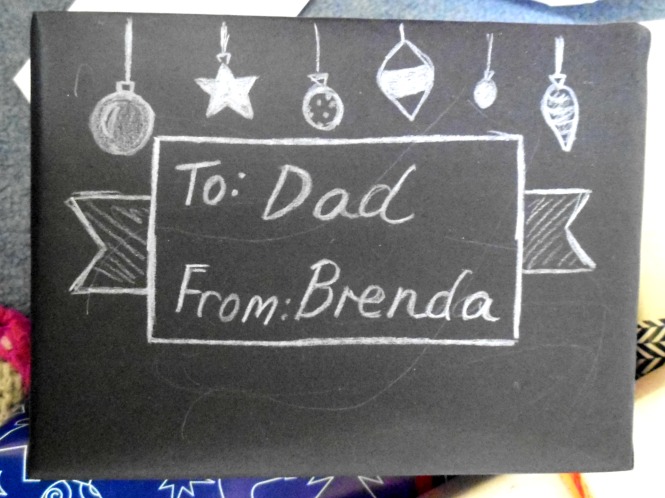
Chalk board effect using black paper and a white colouring pencil. I cellotaped 2 A4 pieces together and then went freehand. You can have so much fun with this idea!
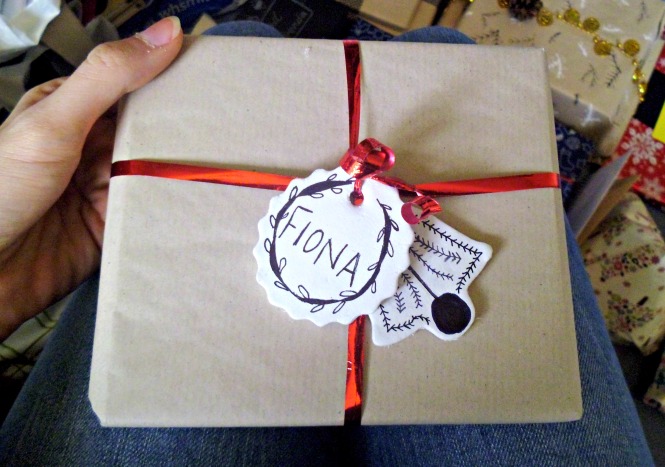
Simple brown paper with ribbon. The special thing here is the clay name tag/label. Simple using air dry clay, cookie cutter and a paint/permanent marker.
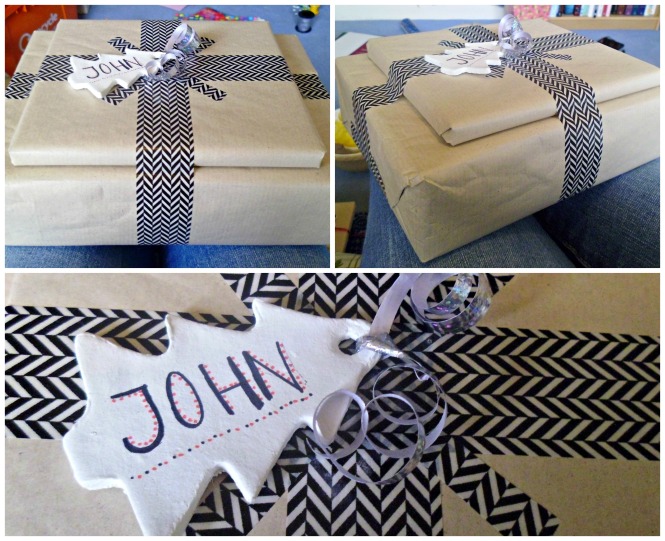
Brown paper though mine’s a little on the grey side 😦 with washi tape to jazz it up and hold it all together! Also featuring a clay label.

